Showing posts with label lessons. Show all posts

Sunday, 21 January 2018

First Week of Kindergarten Ideas

The first week of Kindergarten is exciting but it can also be very tiring! I've been asked many times for some ideas on what to do during the first week to get students settled and into the routine of school. Here are some of my favourite things to do during that first week (or even couple of weeks).

Stories

Read lots and lots of books! Use it as a way to settle students in the morning, after break and just before hometime. Students love hearing stories and as numerous studies have shown, exposure to literature is vital for students' literacy and language development. 

I also like to use stories as a way of teaching students how to listen to and engage with a book. I know this might seem obvious and that students should already come to school knowing how to listen, but it's important that we set up our expectations on what listening to a story looks like. I like to do this in a simple manner by telling students that when I read a story, I have a job and they have a job too. My job is to read the story and the students' job is to listen. I then read the story with no additional commentary and any hand raises or interruptions are stopped. BUT WAIT?! What about the questioning and discussion? That all comes later once the listening and engagement has been taught explicitly.

Nursery Rhymes

Nursery Rhymes are another great way to start literacy in the classroom. They help students develop their ability to hear rhyme, syllables and sounds. I like to do a variety of activities which come in my Nursery Rhyme packs. These activities include sequencing, listening for rhyming words, looking for letters and making mini books. YouTube is a great source for video versions of the Rhyme.


Lining Up Game

The Lining Up Game is a fun way to teach students how to line up in two lines after break times. I take my students out to our lining up area to play this to make it as authentic as possible. How does it work? I get the kids to start by sitting in two perfect lines and explain that this is how they need to be sitting at the end of each break. For the game they just need to know two commands "play" and "bell's gone!". Play means they run around as if it's break time. "Bell's gone!" means they need to find a partner and make two lines. We play this over and over again until they consistently make two, straight lines with no pushing in/dramas. Positive feedback is a must and the more cheesy the better! e.g "YOU are the CHAMPIONS of lining up!", "You're going to make all the other teachers jealous!". Play this before each break for two days and you WILL have the best class at making two lines!

Number Crafts

I love doing craft activities, even during the first week of school! It's a great way to build a sense of fun and get students to start developing all the important fine motor skills they will need for the rest of the school year. These Number Crafts focus on numbers and colours. They're super cute and are perfect for decorating your classroom during the first few weeks.


Name Activities

Not every student in your class will come to school knowing how to write, spell or recognise their name so it's important to get ontop of that during the first term. I have name activities as part of rotations and students work on their names every day. I have two hands-on activities which can be found here and here. I also use magnetic letters and cut and paste activities. Changing it up keeps it interesting and engaging for students.


Pre-Number Skills

Pre-Number skills are essential in building the foundations for a deep understanding of numbers and how they work. I start off with Pre-Number activities from day one by incorporating these into rotations. Pre-Number skills include sorting, matching, ordering and comparing. I use a range of resources from math manipulatives in the classroom to games and activities that I've cut and laminated. 


Sorting games, more or less? and matching can be found by clicking on their names.

Rules and Expectations

Explicit teaching of rules and expectations is a must. Get these sorted in the first few weeks and your year will run smoothly. I have an in-depth post about that which you can read here.

Developmental Play

During the first week, the afternoon sessions are dedicated to Developmental Play. This is a great way for students to make friends with their classmates and to relax - remember they're probably just as tired as you! A new scene, routine, and people can be quite exhausting for the little ones. Play allows for social skills to be tested and developed while using imagination. I like to have unstructured play during the first week, so I can sit back and watch students interact with each other while making notes on what social skills need to be explicitly taught and which students might need some extra support socially.


These ideas will keep you going for the first week and help students settle into the routine of school. I hope you have found these ideas inspiring and have helped you plan for your first week of Kindergarten. Keep up with my teaching adventures by following my Social Media accounts: Facebook and Instagram.

Monday, 8 January 2018

Using my Teacher Planners Digitally

One of the most frequently asked questions I get about my teacher planners is whether they can be used digitally and if so how to set it up. I have not inserted text boxes as some would like to use it as a print and write planner and placing "text here" boxes would interfere with the printing. In order to use my planners digitally, you will need to insert your own text boxes. This might seem like a daunting task, but with these tips and tricks it's not as time-consuming as you would think.

Copy and Paste is your best friend!

A lot of the boxes are the same size and in the same position on each page, so once you have one page set up with the boxes, you can simply copy the text boxes and then paste them onto the next page.


Choosing the right font size

With a table, you can still use a text box and hit enter to move to the new lines. The key to this is choosing the right font size.


If your table has more than one column, simply copy and paste the text box across.


Alignment Lines

One of my favourite things about PowerPoint is the alignment lines that come up when you are dragging items around. These are super useful for making sure that things are lined up properly and evenly spaced.


Here is a visual on how to set up the weekly pages.


I hope this helps you in setting up a digital version of your planner. As always if you have any questions please send me an email or leave a question on my TPT Store!

Wednesday, 28 December 2016

Teacher Planner

It's that time of the year when I should be relaxing, but instead, I'm thinking abut next year. Isn't that the case for everyone? :P

One of my "must have" products for every year is a Teacher Planner. They're better than a standard diary because of the planning pages. However, most of the time I find that there are pages that I have no use for and then the pages that I want are not included. So this year, I decided to take the leap and make my own planner and I think it worked out pretty well.

Here are 10 reasons why I love my new planner - and you will too!

1) It's bright and modern!


If I have to look at this every day for the year, I need it to be visually appealing. Also being bright means it is harder to lose on my desk ;)

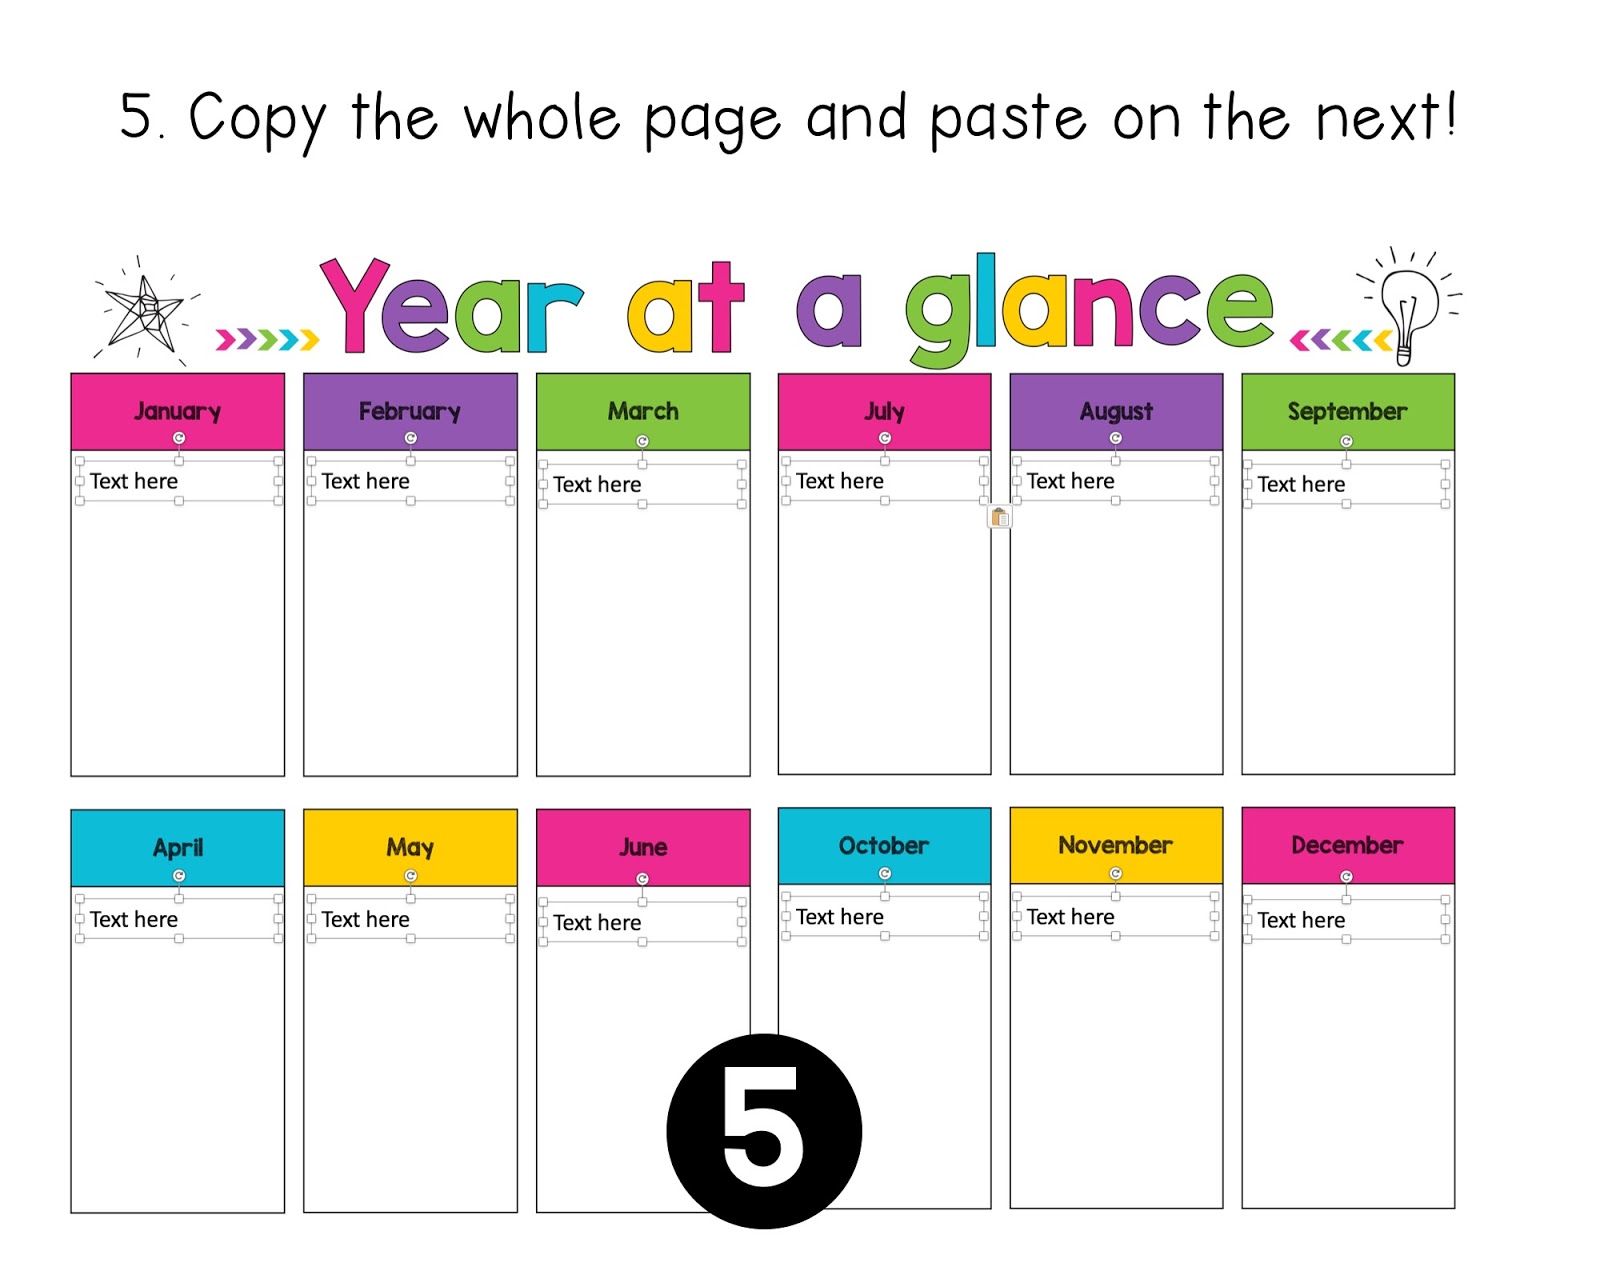
2) It has a 'Year at a Glance'


I find this more useful than the yearly calendar as I can write in the important dates for each month rather than circling a date and then forgetting why I circled it later on.

3) Birthdays and Class List


You'd be surprised how many times you randomly need these pieces of information. Saves time as I can just flip open to these pages rather than going on the computer to search.

4) Professional Development Tracker


Won't be losing this log anytime soon! (well unless I lose my diary :P)

5) Award Tracker


This is the only tracking sheet I like to keep in my diary, this helps ensure that every student receives an award by the end of the year. I like to divide it up by school terms and by award type.

6) It is divided up into Australian school terms


I've always had to use sticky notes to divide up my diary, but not anymore because it's done for me! Also #igotthis because this should be everyone's mantra at the start of a new school year!

7) It has a term overview


This can be used for curriculum topics or important days throughout the term. I like to map out both. 
8) Weekly pages on a double page spread


This is pretty standard across all planners. I like seeing the week planned out as a whole. The notes part on the side is a great place to make a to-do list.

9) It can be used YEAR AFTER YEAR


I haven't put any dates or years in my diary. Instead, I can handwrite it in the spaces provided. 

10) It is EDITABLE

I can duplicate or remove pages when needed. I can also type in whatever I need.

I can't wait to print and bind it. I'm feeling super organised already :D

You can get your own copy from my TPT store by clicking the picture below.


Sunday, 12 June 2016

Keeping Centers Under Control


Center work happens in my classroom every day. Together, my students and I have been working pretty hard on our routine since the beginning of the year. At this stage of the year, most of my students have grasped the concept of working independently. Though, there are still a few students who need extra guidance. I'm going to share my top 3 tips that have had results :)

#1 - Noise Meter
These have been around for a while but they are very effective!

Here are my two favourites;


These tools both work the same way, they use your computer's microphone to pick up on the noise level and the graphics on the screen move depending on how noisy the students are.

I have been using Calm Counter. Students must keep the arrow out of the red zone. This has been a major help in keeping the noise level down during center time. As it is real time, students are provided with instant feedback on how noisy they are. It also means that they can monitor the level themselves rather than have me tell them to work quietly. Win!

There are also apps for iPads and smartphones which can be Air Played but I have not used them yet.

#2 - Good Choices and Poor Choices Sort
 Setting up expected behaviour choices is a must. I created a 'Good Choices' and 'Poor Choices' sorting activity with behaviours I had seen. As a class, we sat down and sorted these behaviours. I then stuck them on a coloured card to make a chart that is now displayed at the front of the room during center time.


I refer to this chart when needed. "What choice were you making? what choice should you be making?"

Check this out at my TPT store by clicking here or clicking on the image below.


#3 - Clip Chart
I know this has become a 'controversial' issue but I still have a clip chart in my room. I use this as a motivational tool.


Before we start our centers, I remind students that I am looking for students who are working hard, making good choices, working quietly, sharing and trying their best. At the end of the session, I go through and praise students and move them up the chart. When praising, I make sure I give specific feedback e.g. "I like the way x, was turning the pages carefully at the reading table". By giving specific feedback, it shows the students that I am watching what they are up to even though it appears that I am busy with my group. At the end of the day, students at the top of the chart are rewarded with Dojo Points. I also make sure to emphasise that those students who didn't move up or moved down still have a chance to move up in the next session. Positivity is key!

You can check out my Clip Chart by clicking here, or by clicking on the image below.


Enjoy the rest of your weekend!

Thursday, 12 November 2015

Guided Writing

This year has been a big learning curve for me in terms of teaching. The school I'm at has had a big focus on 'guided groups', which has changed the way I teach.

I've been experimenting with Guided Writing Groups. I'm no expert on the subject but so far, I have seen a big growth in my students writing. Here's how I run guided writing in my classroom.

#1 - Plot students on the 'Aspects of Writing' section of the Literacy Continuum
In NSW, we have a Literacy Continuum. We use this to track student progress and see the 'where to next'. This helps us plan and develop activities which target specific needs.

#2 - Group students according to where they sit on the continuum.
Once students have been plotted, I form my groups based on what 'cluster' they're at.

#3 - Develop a goal
I then look at the 'where to next' and choose a point to focus on. For Kindergarten the goals for the year are;

I can leave spaces between the words (cluster 2)
I can use capital letters and full stops (cluster 3)
I can sound out words that I don't know to help me write them (cluster 3 & 4)
I can correctly spell sight words (cluster 4)
I can write more than one sentence (cluster 4)
I can add detail to my sentence by using adjectives (cluster 5)

I have these on display as a step chart. Student names are on a pencil and the pencils are moved according to what goal they are working on.


#4 - The Session - No more than 4 students
What we write about depends on what we are learning about at the time.

I use a log book to take notes and keep track of what we have covered.


The log book has a space at the top for the group goal and space for anecdotal notes on what writing behaviours each student displays. At the end of the week, once all sessions have been complete, I look back over the notes and make any necessary adjustments to groups or goals.

In the session I provide each student with targeted support. Having a small group means that I am able to provide individualised support for each student.

Once students have completed their writing, I mark their work with them. I have a rubric that relates to each goal;


I refer to this rubric when marking and giving feedback. Usually the number of ticks or stamps refers to how well they've achieved their goal ("working towards", "almost there" and "I've got it"). I've also developed a tracking sheet (right image) to use for next year to help keep my student portfolios neater.

That's pretty much it. If you're interested in the pack, you can find it by clicking here or on the picture below :)

https://www.teacherspayteachers.com/Product/Guided-Writing-2202497

Monday, 9 November 2015

Comparing Numbers

It's nearing the end of the school year here in Australia, so one thing that we've all been doing is going through the syllabus and making sure that we've covered each content strand.

Looking through the syllabus, the team all agreed that we needed more work on the strand; comparing numbers to determine 'how many more'

As a team, we decided on the best way to teach this concept and that this would be the modelled part of our guided maths session.

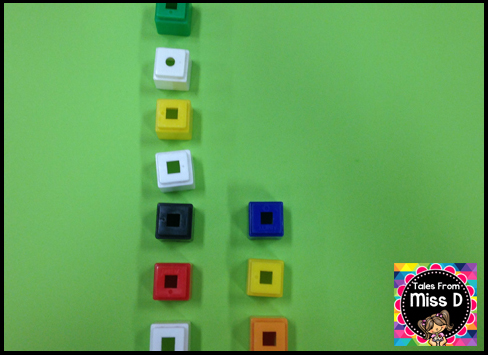
#1 - Get two groups of objects (can be counters, unfix cubes, etc).

#2 - Line up objects side by side, making sure the objects match/have a partner.

#3 - Look at where the matches stop and separate the objects that don't have a partner.

#4 - The objects that don't have a partner tell us 'how many more' are in the group.

When introducing the concept, stick to examples that don't have a huge difference i.e do 7 and 4 not 5 and 20. Keep it simple with small differences. Work on larger differences in the guided group part.

Of course, I want my students to be applying this independently while I am working with my small groups, so I made two centers that work on developing this skill.

Activity #1


In this activity, students pick a card and place that many counters/cubes on the top row. They pick another card and place that many counters/cubes on the bottom row. They then look at where the matching stops to determine 'how many more' and write the number at the bottom.

The grid is a great way for students to make sure the objects are lined up properly. If the objects are not lined up, then this strategy falls apart.

Activity #2
In this activity, students pick a card and make towers that correspond with the numbers. To find out how many more, students break the tower so that they become even. The amount broken off will reveal 'how many more'.


Students can then write the answer on the line.

Very simple, yet effective activities for students to develop this skill. You can find this product by clicking on the picture below :)

https://www.teacherspayteachers.com/Product/Comparing-Numbers-2191590


Enjoy the rest of your week!

Saturday, 28 February 2015

Five for Friday! (on a Saturday)


I'm linking up with Doodle Bugs Teaching for Five For Friday!

Numbers 0 to 10

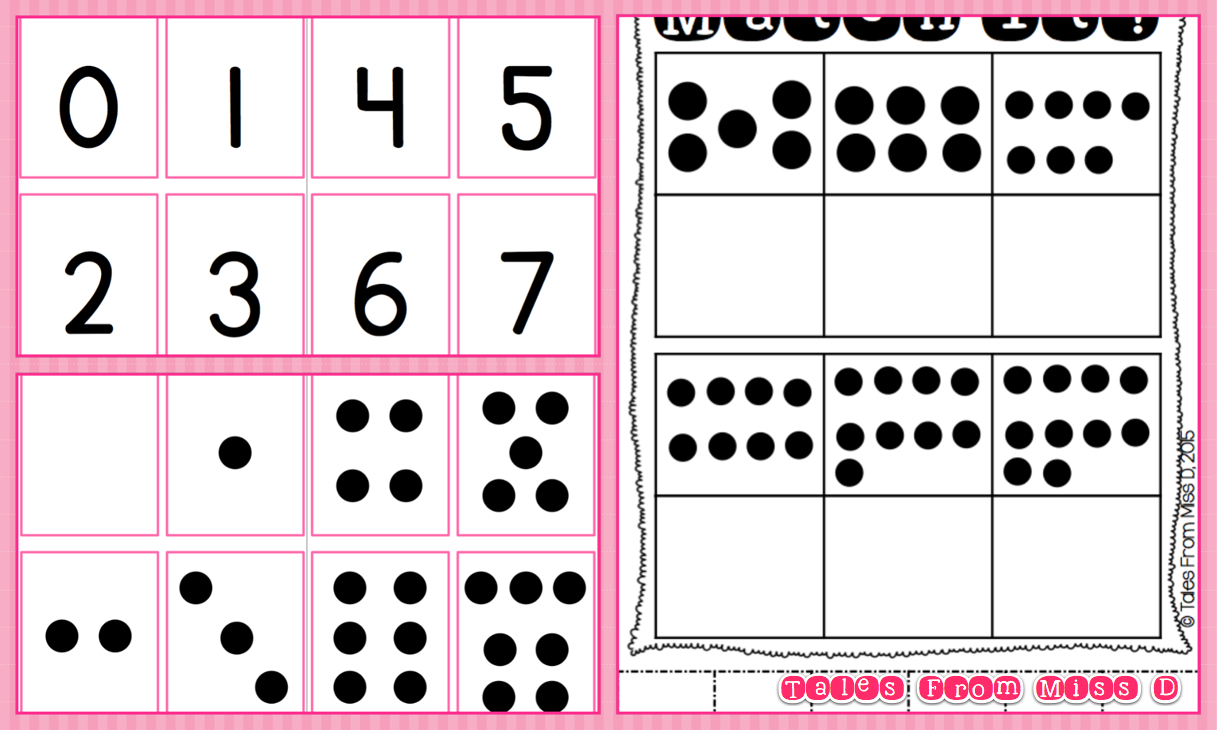
We have been working on recognising, writing and representing numbers 0 to 10. Everyday we have been working with flash cards, counters and other math manipulatives.

https://www.teacherspayteachers.com/Product/Subitizing-1705920

Flashcards and a worksheet from my Subitising pack on TPT. Click on the picture to check it out!

I am quite happy with the progress I am seeing already. At the start of the year, if I asked students to give me __ counters, they would count out/give me the whole pile. Now pretty much all of my students know that number I tell them, is the number they have to stop at. 

On Friday, I taught them the Roll & Build game from my Numbers to 10 Math Stations pack. We played whole class, boys VS girls. It was a hit and they are eager to play the game in pairs next week!


Letters A, M, S
We have been working on the letters A, M, S. I do this in small groups while the rest of the students are doing activity rotations. The sessions have been going like this;
1. Introduction to the letter - name and sound. Students repeat after me. eg. A /a/ A /a/ A /a/.
2. Letter hunt - students sort through magnetic letters to find the target letter.
3. Words that start with target letter. Students repeat after me. Focus on listening for the target sound.
4. Alphabet book. Students pick a picture to represent the sound and stick it in their book.
5. Handwriting - correct letter formation.

I am in the process of creating packs for each letter. I will be using these in addition to the small group sessions.


You can find them in my TPT store by clicking here.

Each pack has; two posters, letter hunt, case sort, letter sort, handwriting and bracelets. Ideally I want to send my students home with the bracelets on so that it becomes a talking point with their family.

All About Me
We have been doing lots of talking about ourselves; our name, age, birthday, family and appearance. Next week, we will be looking at our Five Sense senses. I am looking forward to this as it just lends itself to all sorts of fun hands on activities and experiments.

https://www.teacherspayteachers.com/Product/Five-Senses-1706295


Dressing Up
On Friday we finished off the week with Developmental Play. I changed up the toys a bit and added the dress up box. It was a hit, EVERYONE was playing dress ups. All the other toys were untouched. I think it worked out well with everyone wanting to dress up, as it made everyone take turns! It was lovely seeing the students use phrases like "Can I please have a turn?" and "Here, you can have it now". No tears at all. Who'd have though a dress up box would help teach sharing and patience?

Last day of February
I can't believe we are heading into March already. Feels like we started the school year last week. Have gotten into the spirit of things by making a March themed packet of key concepts we will be focusing on.

https://www.teacherspayteachers.com/Product/No-Prep-Activities-for-March-1730651


That's it for Five for Friday. Enjoy your weekend! Be sure to check out the other blogs in the linky party :)

Sunday, 4 January 2015

Comprehension - Part #5. Questioning

Questioning involves students asking and answering questions about a text. I'm not talking about basic questions like "what colour was the house?". I'm talking about deeper questions like "I wonder why the character....".

To get students familiar with asking the deep questions, introduce the thinking stem "I wonder". This automatically lends itself to deeper questioning as it requires students to come up with a question where the answer is not immediately obvious.

When introducing this strategy with my year one class, I used the wordless text, Window by Jeannie Baker. Any wordless text would do, but I love Jeannie Baker books as there is always so much going on in every picture.


As we looked through each page, I gave students a post-it note and asked them to write down their "I wonder..." questions. I got responses such as;

"I wonder why the birds are flying away from the park"

"I wonder why the boy is playing inside and not outside"

We then shared our questions with the class, and used these questions to start a discussion and hopefully find an answer to them. For the question about the birds, one student suggested that the birds were flying away because trees were being chopped down to make room for the houses. Pretty awesome for a year 1 class right?

By providing students with a thinking stem, I helped scaffold their learning, as opposed to just telling them to come up with a question about the text.

Once we had this down, we moved on to other thinking stems that promote deep questions, such as

What would happen if?

Why would...

These stems work best with a rich text, simply use the same procedure as introducing the "I wonder..." questions.

After the introductory lesson/s implement deep questioning as part of your guided reading groups. These questions also link really well with any scientific investigation!

You can even set up an "I wonder..." wall in the classroom that can be used throughout the year.

I have a bunch of Comprehension resources in my store that are very useful for implementing the strategies in your classroom :)

Next up, Summarising!